12/19/2014

B-b-b-baking: Merry Mayhem and Magic

Yesterday was the most intense 90 minutes of constant baking I've done in a while - what I do for Christmas parties... I went to a Christmas party yesterday, and I unfortunately still don't have the funds to buy fancy gifts for everyone, so this year's holiday season is going to be filled with snail mail and baked goods. I was at a meeting in the morning, which ran quite a bit longer than I had anticipated, and I had somewhere else to be just before the Christmas party in the later afternoon, but somehow, I managed. However, because I was in a bit of a hurry, the pictures suffered a bit - not that they are usually that amazing anyways considering how I use my phone camera...

I decided to try two new things this time around - cookies with potato chips in them and biscottis. Yes, potato chips. But let me explain. I had been introduced to the idea of putting other obscure things in cookies about a year ago when my cousins took me to a place called Momofuku Milk Bar in Toronto. They had something called a "Compost Cookie", which had pretzels in it in addition to the potato chips. But when you really think about it...it's not actually that weird. Salty sweet things and molecular gastronomy have surfaced in the culinary world, and it isn't uncommon! Kettle corn has a good mix of caramel and butter and salt, crispy bacon strips are being put into icecream sundaes, so why not potato chips in cookies? So, I gave it a shot, and they were actually amazing. It was your traditional chewy, chocolate chip cookie, but with an extra element of salt and crunch! Magic. And on the slightly less exciting side, I decided to make biscottis. I hadn't made them before until yesterday, but had been wanting to try for a while. They didn't turn out half bad either :)

What I learned yesterday about potato chips in cookies and biscottis:
- Potato chips, of the kettle-cooked, thick-cut variety do belong in cookies at least sometimes.
- Mixing the mix-ins into cookie dough is better with hands because you get a more even distribution, but your hands can get sticky, but whatever.
- Biscottis are essentially a twice-baked biscuit, but because they are baked twice, it takes a tad longer to make them.
- Biscottis are a lot easier to make than one would think - you should give it a try too!!
- It is apparently possible to bake a batch of drop cookies and a batch of biscottis within 90 minutes. It's just kind of stressful. (Holiday baking should be more on the stress-free side of things.)

Chocolate chip potato chip cookies, in all their glory.
First stage baked biscotti. The once thinner logs expanded into blobs of biscotti biscuit thing. You should bake it until it's a bit golden brown, but I didn't have time for that. Yours will likely look miles better than mine!
After being sliced, they looked more biscotti-like. They would have looked a bit better if I wasn't in such a hurry, or at least I'd like to think so? Into the oven for the second, and final bake!
A drizzle of white chocolate makes them a bit more magical, don't you think? I decided on white chocolate since there was dark chocolate in the cookies, but you could go with any chocolate, or multiple kinds of chocolate if you wanted to :)
Chocolate Chip Potato Chip Cookies (Adapted from How Sweet It Is)
*Makes 16 large cookies*
1 1/2 all-purpose flour
1/2 tsp baking soda
12 Tbsp extra virgin olive oil
1 cup white granulated sugar
2 eggs
1 Tbsp vanilla extract
1 1/2 cups crushed kettle-cooked thick-cut sea salt potato chips
1/3 cup dark chocolate chips

1. Preheat oven to 325 F. Prepare 2 cookie sheets with olive oil or parchment paper. (I had to use olive oil for most of the baking because I ran out of parchment after one cookie sheet!)
2. Mix olive oil and sugar in a medium bowl until combined.
3. Add eggs and vanilla and mix until combined.
4. Add flour and baking soda and mix gently until combined.
5. Fold in crushed potato chips and chocolate chips. It's easier to ensure a more even distribution if you use your hands, but it gets a little messy.
6. Drop 16 balls (about 3-4 Tbsp big) of cookie dough onto your cookie sheet, leaving space in between them to expand.
7. Bake in the oven for 12-15 minutes. You don't want to make the cookies too crunchy so that you have a good textural contrast, so don't wait until they're golden brown. Well, you could, but trust me. It's better this way. :)
8. Allow to cool and enjoy!

Cranberry-Almond Biscottis (Adapted from All Recipes)
*Makes ~24* (I made 23, But I could have totally made another one if my slicing was better.)
1 2/3 cups all-purpose flour
1 tsp baking powder
1/2 tsp salt
1 Tbsp vanilla extract
2 eggs
1/4 cup extra virgin olive oil
1/2 cup white granulated sugar
1/2 cup dried cranberries
1/3 cup whole roasted almonds

1. Preheat oven to 325 F. Prepare a cookie sheet with olive oil or parchment paper.
2. Mix olive oil and sugar in a medium bowl until combined.
3. Add eggs and vanilla and mix until combined.
4. Add flour, baking powder, and salt. Mix gently until combined.
5. Fold in dried cranberries and almonds.
6. Shape the dough into 2 equal sized logs about 12 x 2 inches, Try not to make the center taller than 2 inches.
7. Bake in the oven for 30-35 minutes.
8. Remove from the oven and allow to cool for 5-10 minutes before slicing. Use a sharp knife (or cleaver) to slice the logs diagonally into 1 inch thick pieces. You can make them thicker, but be aware that thicker slices will take longer to bake/dry.
9. Place biscotti slices flat on the cookie sheet. Reduce heat to 300 F and bake for about 10 minutes or until they are dry and a bit golden brown around the edges.
10. To make them slightly fancier, melt some chocolate with about 1 Tbsp olive oil, and drizzle over top. Allow to cool completely, and enjoy with some coffee or tea!

P and I were at Winners looking for Christmas cards and stuff, and I came across these cute little trays. For $4, you got 4 easy-to-assemble cardstock boxes with 4 strands of red ribbon, 4 snowman tags, and 4 tall cellophane bags. I used the tags to label them so that people knew what they were at the party. :D
Thank you, Winners for your cool cooking and baking stuff, and for encouraging my obsession with stationery and crafty things  don't really need, but buy from you anyways.
All ready to go! Chocolate chip potato chip cookies on the left and cranberry-almond biscottis with a white chocolate drizzle on the right! (I labeled the cookies as "chocolate chip" before the "potato chip" part, so people wouldn't be like "potato chip cookies...hmmm" and would instead be like "chocolate yay!!")
Happy holidays and may your homes smell oh so very magical~

12/09/2014

B-b-b-baking: Layered with Love

Tonight, I made dinner for my parents. It happens every now and then, and today was one of those days. My parents had stuff to do until 9:30 tonight, giving me ample time to put something together. I decided to tackle homemade lasagna from scratch.

What I learned tonight about lasagna:
- Humidity matters. It was wayyy easier to roll pasta manually when I was in London. Here, I had to do the chill and rest trick, and my arms got tired. I think I want a pasta roller...
- Be careful when cooking with wine. I actually added too much red wine to start with, so when I tasted it before assembling the lasagna, it was rather boozy. Surprise! I managed to even it out by adding beef broth and reducing it again afterwards...
- Tomato paste probably makes for a better sauce. It's not to say that this one didn't turn out, but it was not very tomato-ey. The red pepper was likely a factor too, because the flavour of bell peppers is quite strong. I was trying to use whatever was in the fridge.
- It only took me about 2 1/2 hours to make, although, I did skip the bechamel. Curse my stomach and its inability to deal with milk things!
- It's probably not a good idea to fill your baking pan to the rim. The cookie sheet that I put underneath helped, but I had to scrub off burnt overflow after dinner :/ 
- Making this makes you feel super accomplished. I'd highly recommend giving it a try!

Clearly, I need to work on my serving skills, but yay! Lasagna was made!
3-Layered Meat Lasagna from Scratch (Adapted from Smitten Kitchen and Half-Baked Harvest)
*Makes 8 servings*

Sauce
1 medium onion
4 cloves of garlic
1 lb. ground beef 
6 white mushrooms 
1 red bell pepper
1-28 oz. can of peeled, whole tomatoes
2/3 cup beef broth
1/3 cup red cooking wine
Basil
Salt and pepper
Olive oil

Pasta
2 cups all-purpose flour
1 tsp salt
4 eggs

Assembly
1 1/2 cups sliced or shredded mozzarella cheese

1. Add 1 tbsp olive oil into a medium pot over medium heat.
2. Chop garlic and onion, and saute in the pot until fragrant. 
3. Add ground beef, and stir until the meat is no longer pink, adding about 1/3 cup red cooking wine half way through.
4. Empty the can of whole tomatoes into a blender and pulse a 2-3 times with basil, salt, and pepper to your discretion.
5. Add the tomato mixture into the pot with the beef, and stir until combined, then bring to a boil.
6. Slice mushrooms and bell pepper, and add into the pot, bringing the heat down to a simmer. Allow sauce to reduce to desired consistency, stir, and remove from heat.
7. In a medium bowl, add flour and salt, and make a well in the middle.
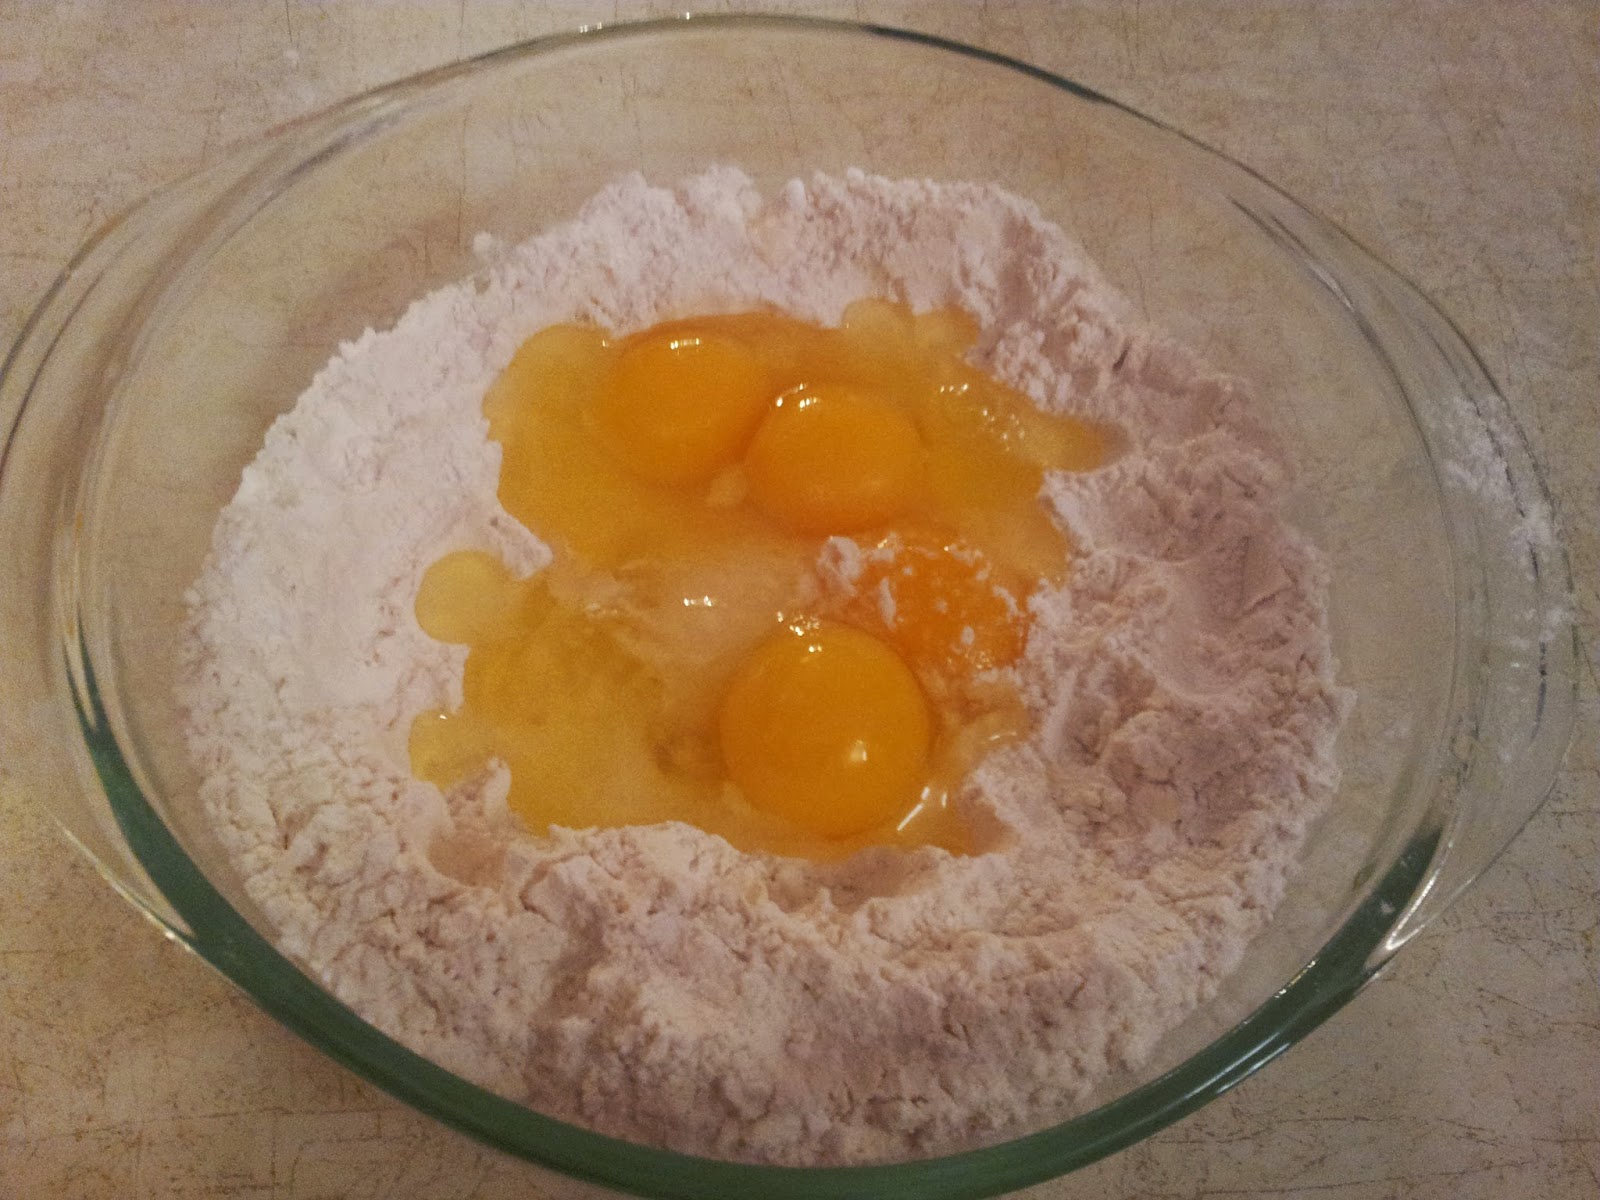
8. Break 4 eggs into the well, and stir with a fork until roughly combined. Knead until it comes together.
9. Divide into 4 portions. Keep other portions in the bowl covered with plastic wrap while you work with each one. 
10. Individually roll each portion of dough into a flat rectangle to fit the bottom of your baking pan (the pan I used was 7 x 12 x 2"). If you find that the edges of the dough begin to spring back when you are trying to flatten it, it's being overworked. Loosely roll it up, wrap in plastic wrap, and allow it to rest in the fridge while you work on another portion. After at least 5 minutes of resting in the fridge, take the dough out from the fridge, unroll, and continue to roll it out to your desired size. 
11. Use a paper towel to grease the inside of your baking pan, preheat your oven to 375 F, and begin layering. 
12. Start by spreading about 3 cups of the sauce in the bottom of your baking pan. Lay 1 sheet of fresh pasta over it, cover with a layer of cheese, and repeat these steps until your baking pan is full. The last layer should be a generous amount of cheese. I found that for the pan that I used, I had 1 sheet of pasta leftover. I plan to slice it into tagliatelle to have with the leftover sauce.
13. Place the baking pan on top of a cookie sheet in case any of it spills over (mine did a bit ._.). Cover with foil, and bake in the oven for 1 hour. After 45 minutes, remove the foil, and bake uncovered for the remaining 15 minutes. 
14. Remove from oven and slice into 8 squares. Serve with salad and/or bread. (I opted for a salad with romaine lettuce, mandarin oranges, sliced almonds, and a balsamic-honey vinaigrette.)
15. Enjoy!

Saucy! I had probably 2 cups leftover of sauce. Good enough for the leftover sheet of pasta! 
Preparing to get messy...
The first layer of meat sauce, pasta, and cheese. This was probably my best looking pasta sheet of the 4. One of them resembled a large oven mitt.
All assembled and ready to bake! Spoiler alert: It's also too full.
The finished product - this is what it looks like when you're too lazy to grate all of the cheese and/or when you need to spread the cheese sparingly. And when you fill the baking pan too high so that stuff overflows when it bubbles in the oven, and you have this mixed combination of feeling accomplished for finishing your masterpiece, relieved that you can finally eat, and reluctant to do the dishes afterwards.
I love having lasagna once in a while, and it's good for serving multiple people. I've gotten so accustomed to making enough food for 1 or 2 people, that I'm somewhat limited when it comes to making food for other people that isn't dessert. Thank goodness for stews and casseroles!

Until next time, Christmas baking is soon to come...

-M